Loukykvět / Návody / How to store dahlias
How to store dahlias
Published: 12. 11. 2020 · Updated: 12. 11. 2020
Dahlia tubers do not survive the winter outdoors, so they need to be dug up in the autumn and stored in a room where there is no risk of frost. We described how to dig up dahlias in our previous guide, and now we will focus on how to store them. Over the last few years, we have tried countless ways to store dahlias throughout the winter on our farm. Today, we want to share the most reliable and simplest one.
Temperature & Humidity
If it were as simple as just putting dahlia tubers in a frost-free room for the winter, we wouldn't have bothered writing this guide at all. It is necessary to focus on temperature and humidity. To be sure, we will highlight the values we aim to achieve right from the start.
Temperature
The tubers should be stored at a temperature between 3 °C and 8 °C. At lower temperatures, you risk the tubers freezing, while at higher temperatures, the dahlias might start to sprout.
Humidity
The ideal air humidity is 70 - 85%. If the humidity is too high, the tubers may start to mold; if it is too low, they will start to dry out.
What you will need
A crate
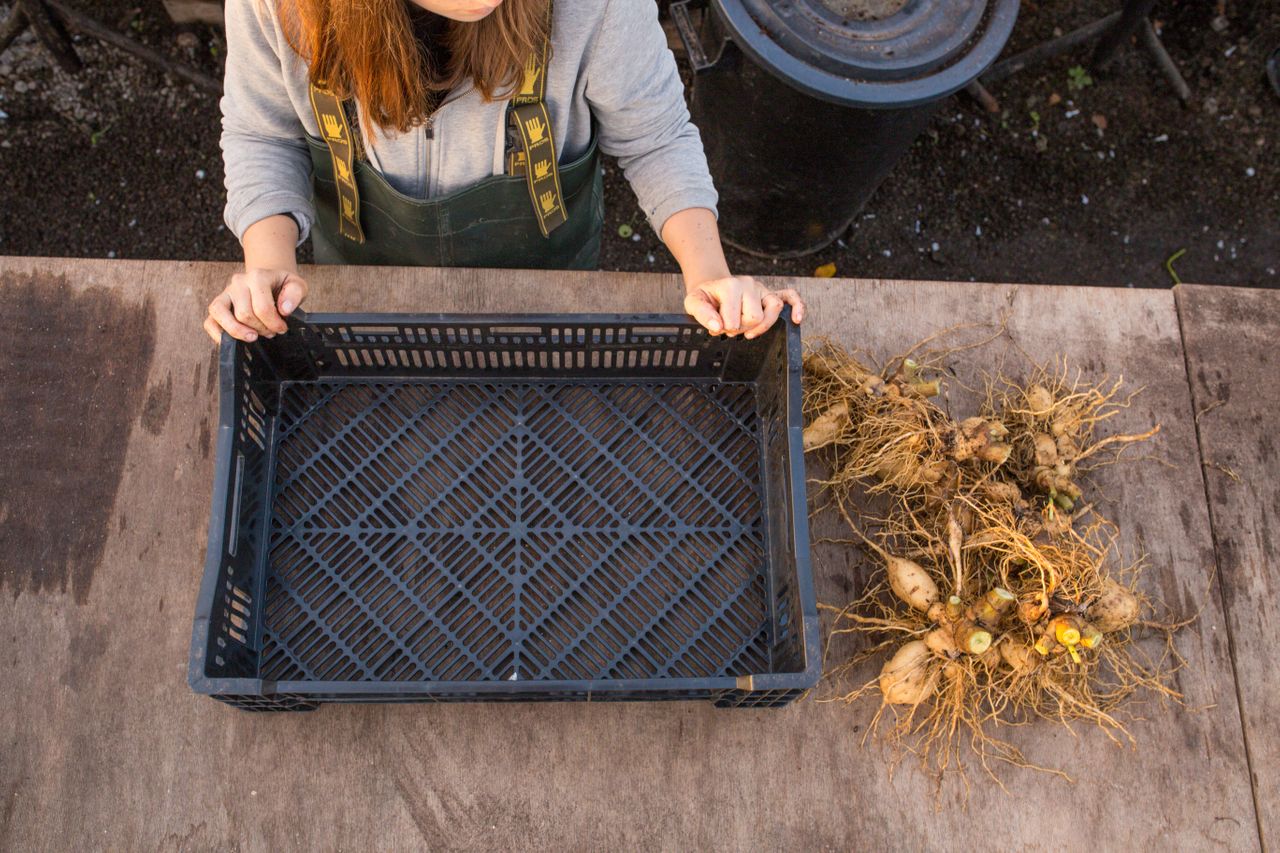
A standard fruit crate measuring 60 × 40 cm, or any other box, carton, or container, will suffice.
Plastic bag
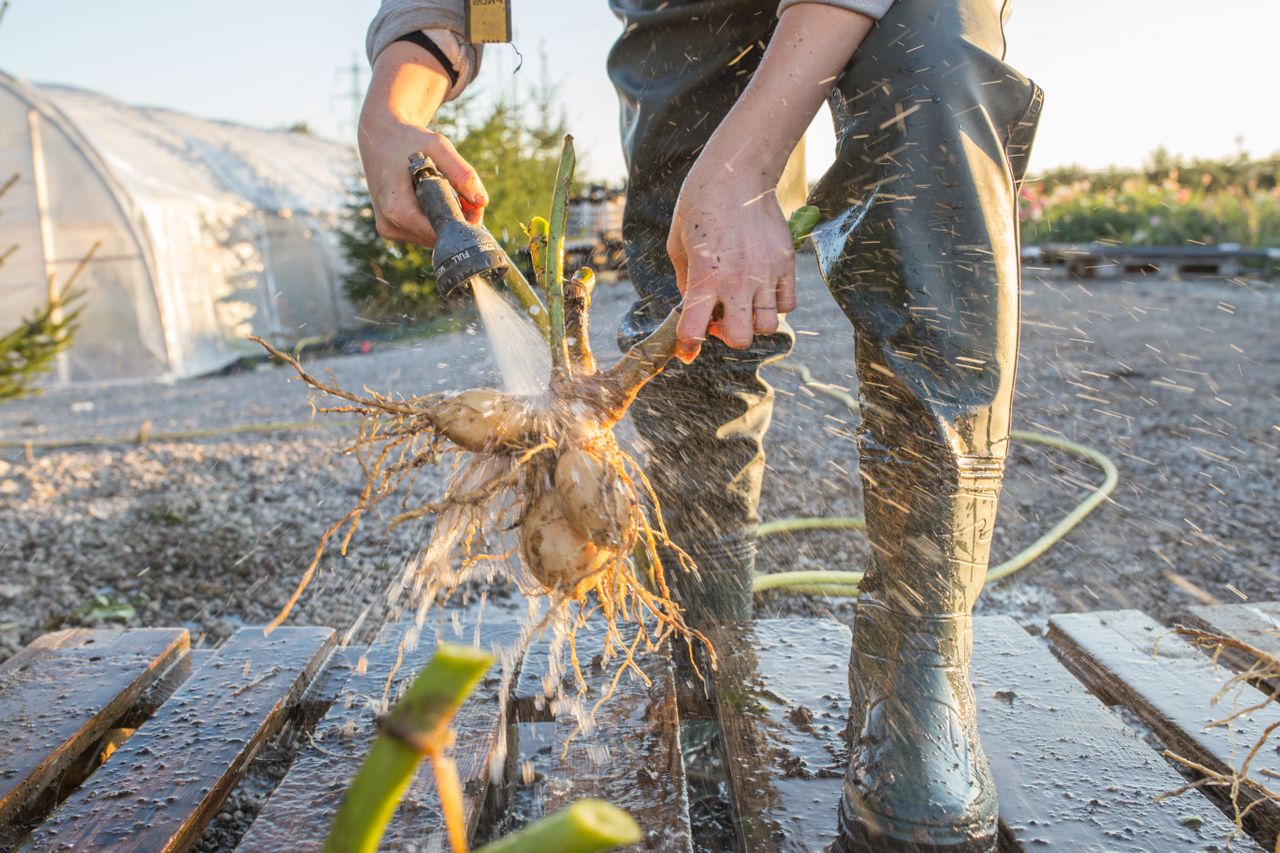
We use a plastic bag to line the crate. We recommend a bag that fits the crate exactly. You can buy them, for example, from Eobaly, or search Google for "PE bag for boxes and crates".
Peat
To cover them, we use completely ordinary peat; a mix of black and white peat is fine. Try to find a package of peat that does not contain wetting agents or fertilizer; the simplest one is all we need.
Scissors
Since we will be trimming the stems, we need strong scissors — those from ARS for thick stems and branches work well for us. You can use any other branch shears, ratcheting ones, etc.; we've even tried it with a machete (it works).
Procedure
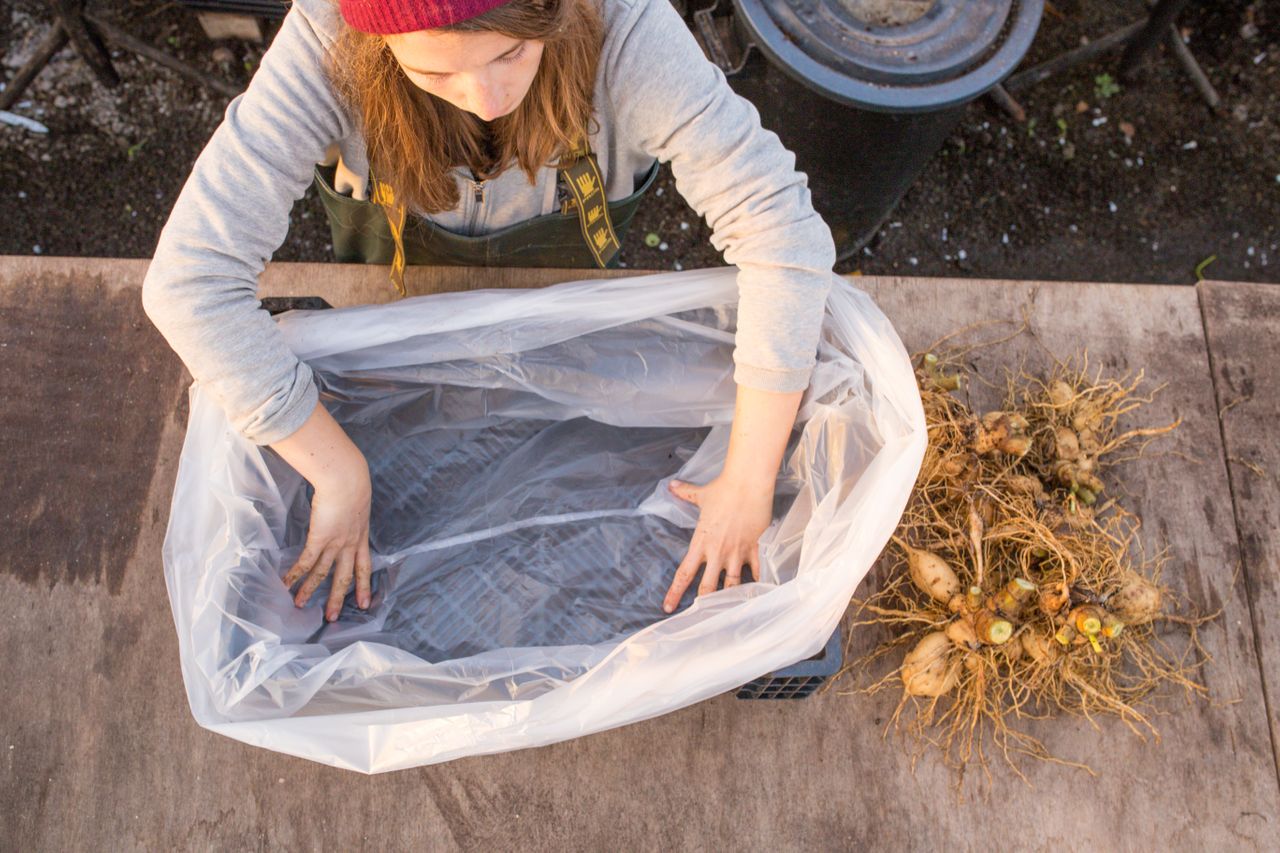
It is dreadfully simple — take a crate and line it with a plastic bag.
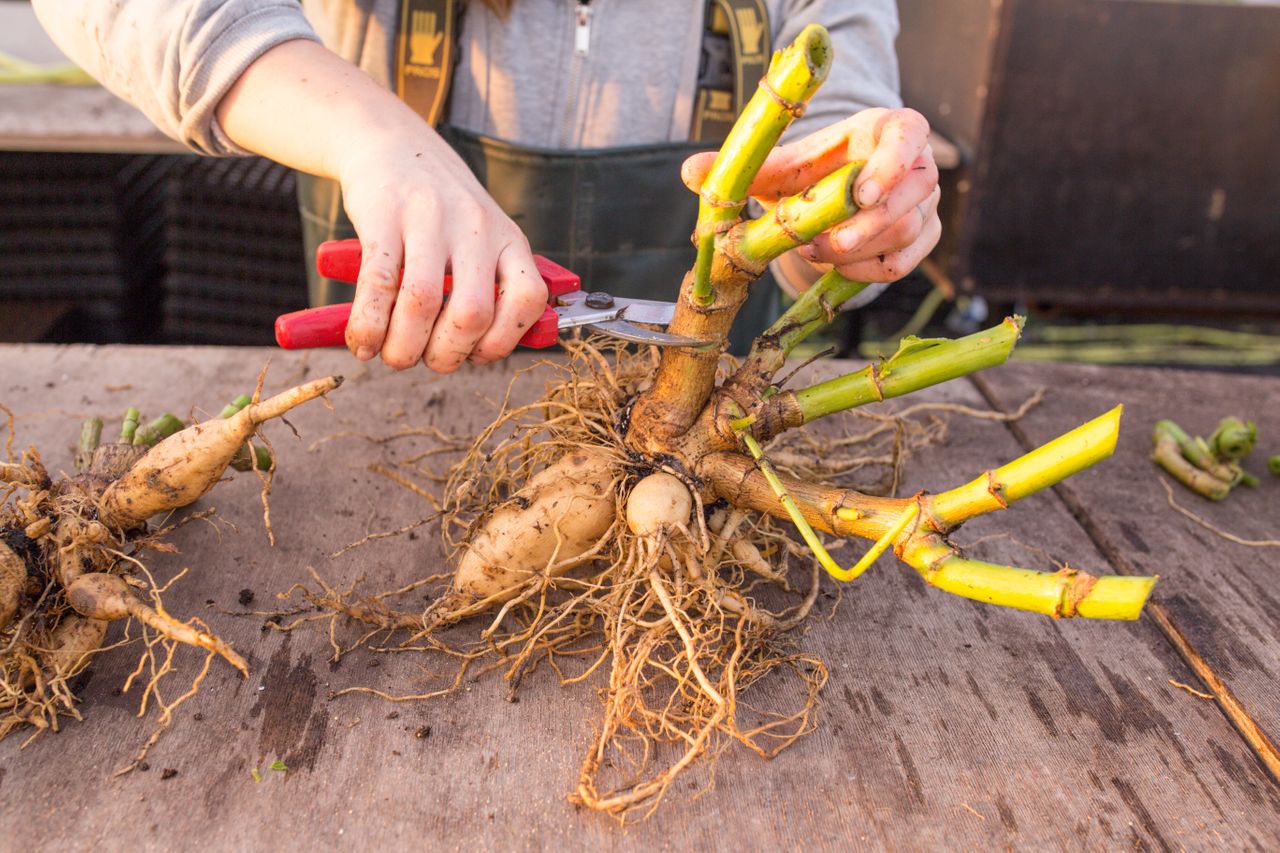
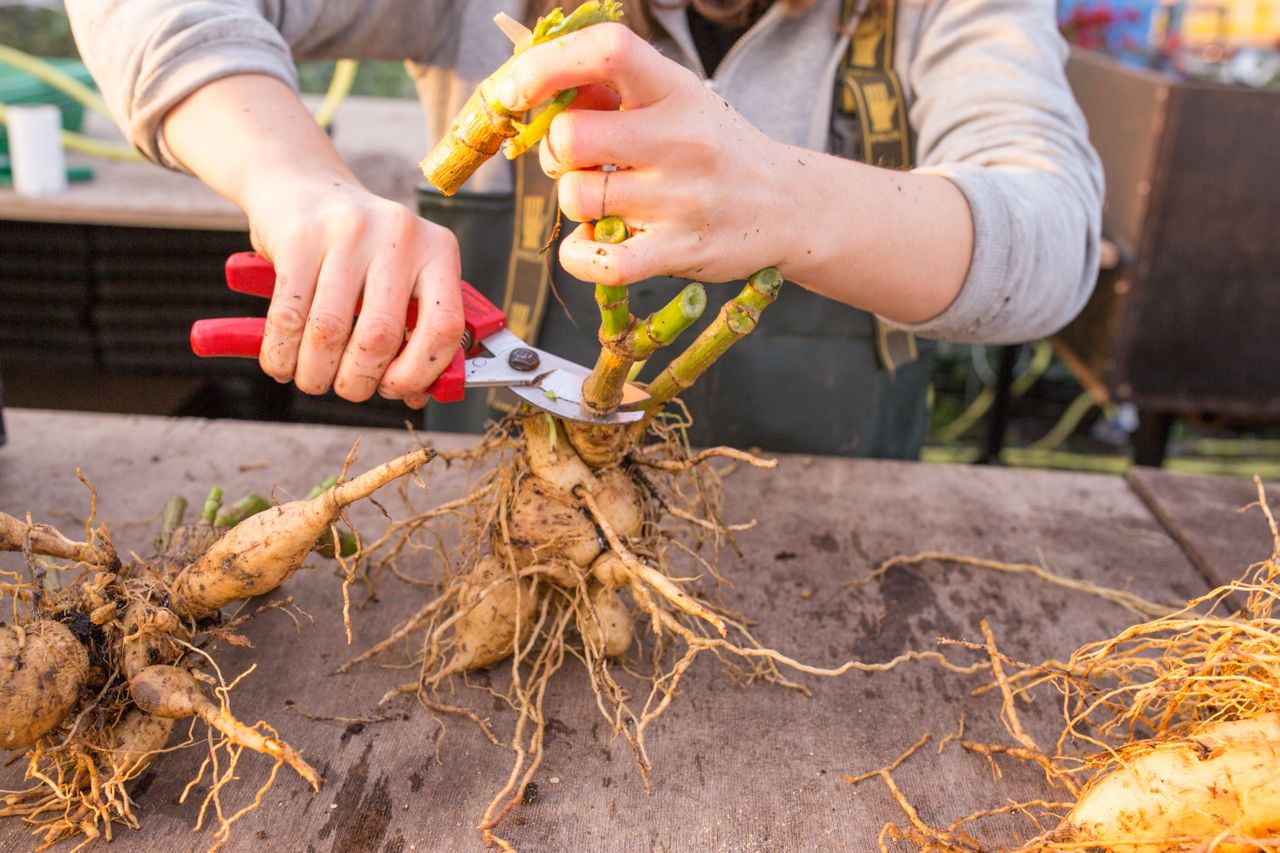
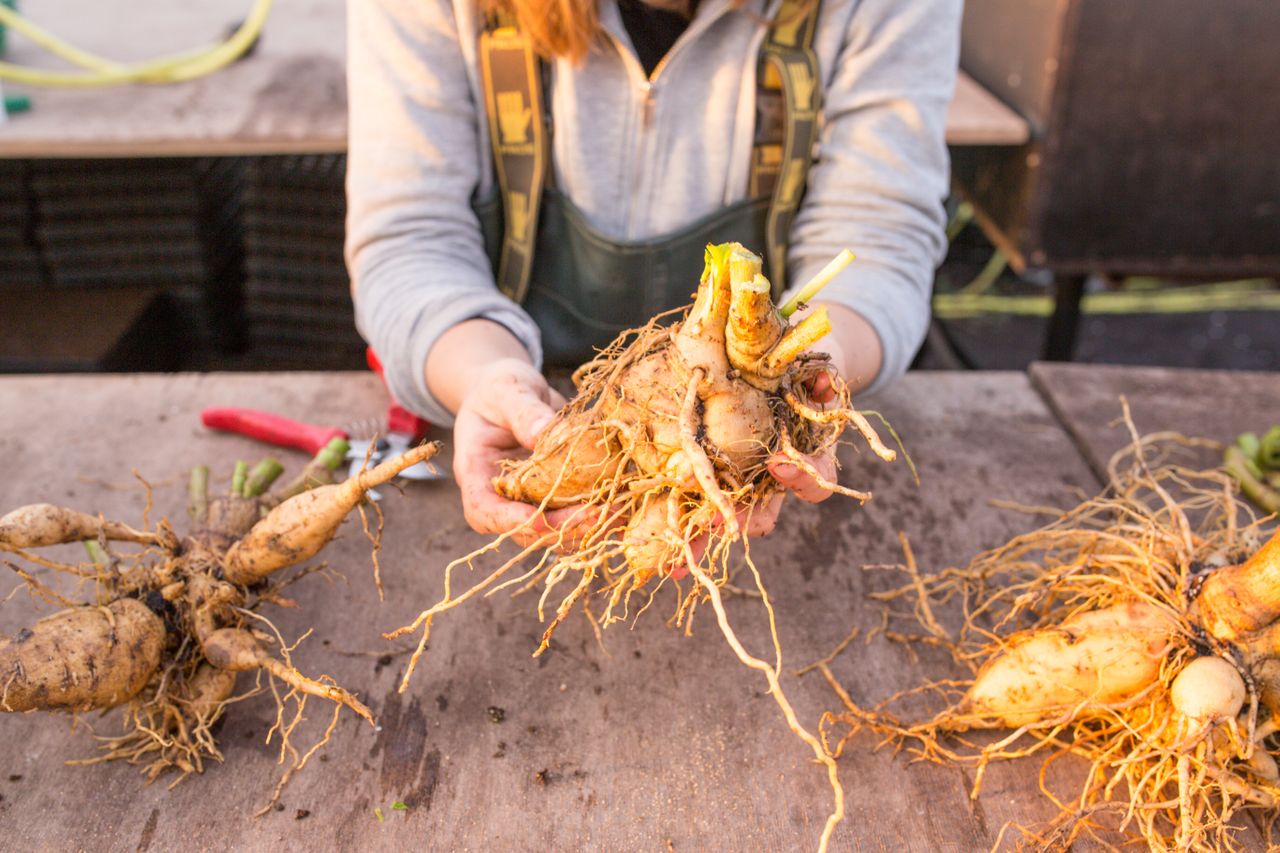
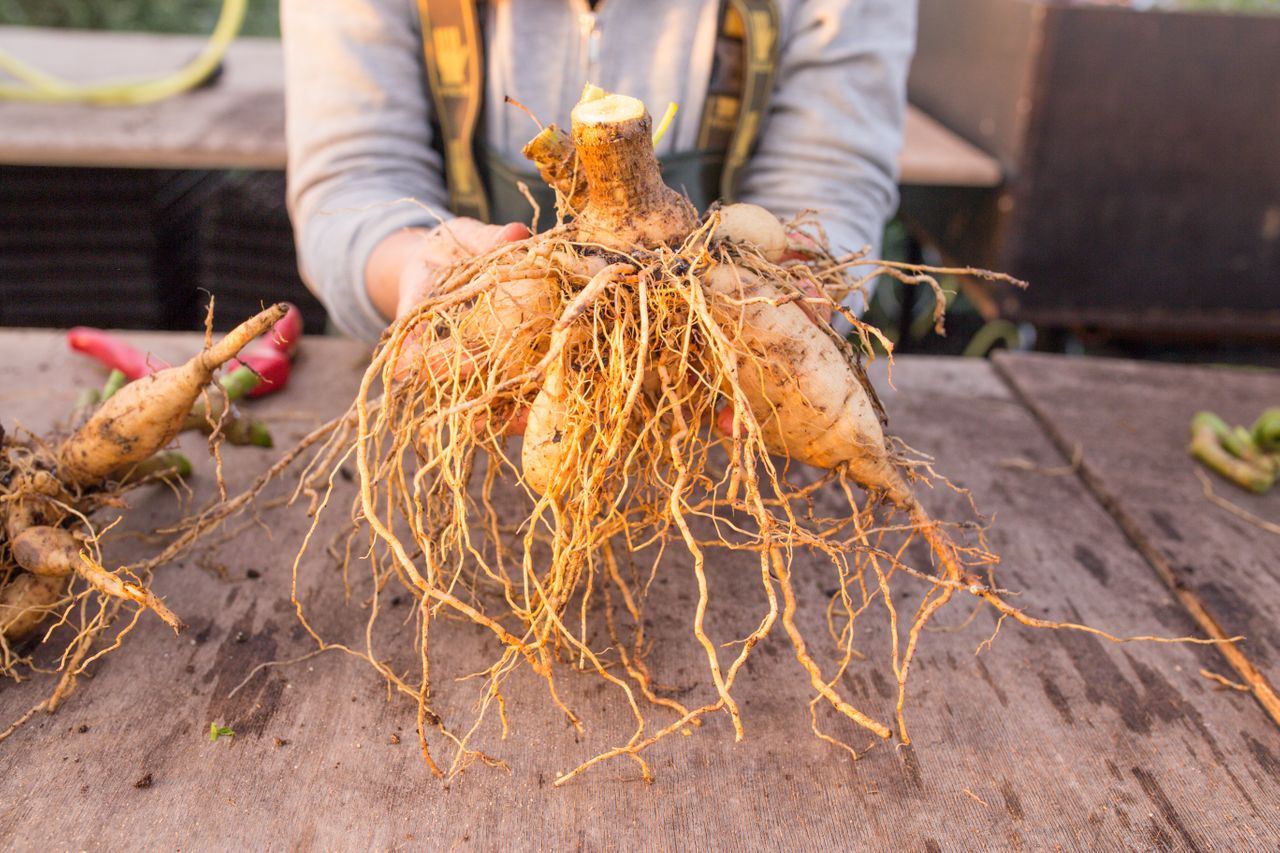
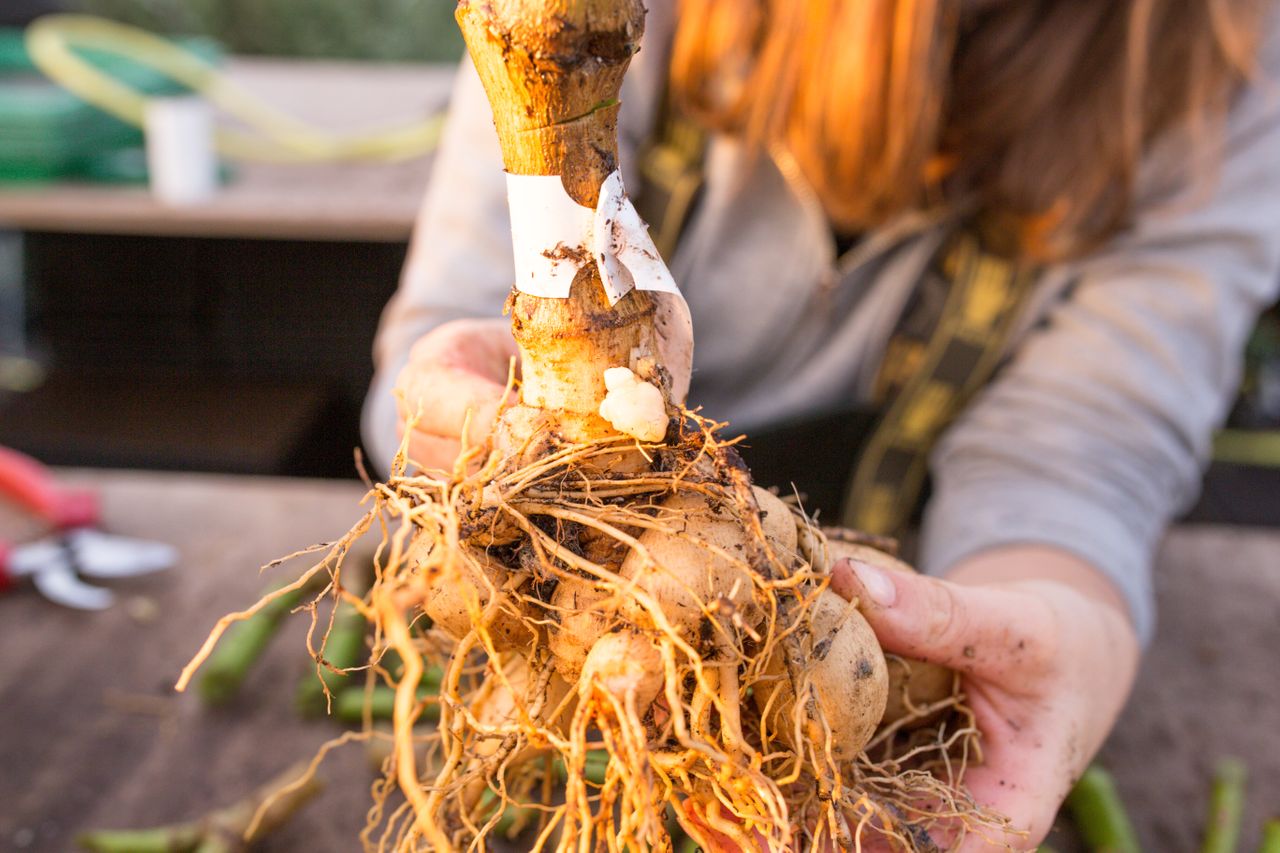
Now, trim the stems — leaving 4 - 8 cm above the tuber is enough; a longer stem is unnecessary. It would take up space during storage, and there is also a risk that it might start to rot.
It is not advisable to trim the roots or other parts of the tuber; the fewer cuts, the lower the risk of infection. So, leave the tuber nice and hairy, and ideally, don't make any more cuts right before storage.
Crown gall
There is one thing you need to be especially careful about: crown gall.
If you notice any tumor, nodule, or growth on a tuber that resembles a head of cauliflower, it is crown gall, and you must dispose of the tuber immediately — throw it in the trash, not in the compost. On our farm, we call them 'brains' or 'cauliflower', and such tubers go straight into the trash.
If you do not get rid of the tuber, you risk spreading the bacteria throughout your entire garden. It spreads via infected plant material and, over short distances, can also be spread by rain, irrigation or ground water, soil, soil-dwelling animals, and tools.
Bacteria (Rhizobium radiobacter) overwinter mainly in tumors and in the soil. They enter the plant through wounds of various origins (mechanical, animal, frost, use of infected grafts, after hail). The incubation period during the growing season is around 8 – 15 days. The pathogen has the ability to persist in the plant's vascular system, migrate through it, and give rise to secondary tumors that form at a certain distance from the original site of injury.
Crown galls most often form on the root collar and roots. New tumors are spherical, their surface is whitish, smooth, and soft. Gradually, the tumors enlarge, harden, become woody, turn brown, and their surface becomes wrinkled. Non-specific signs of infestation include plant stunting, chlorotic leaves that later die off from the edges, and premature death of the plant.
You can find more about crown gall on the excellent plant health portal from the ÚKZÚZ.
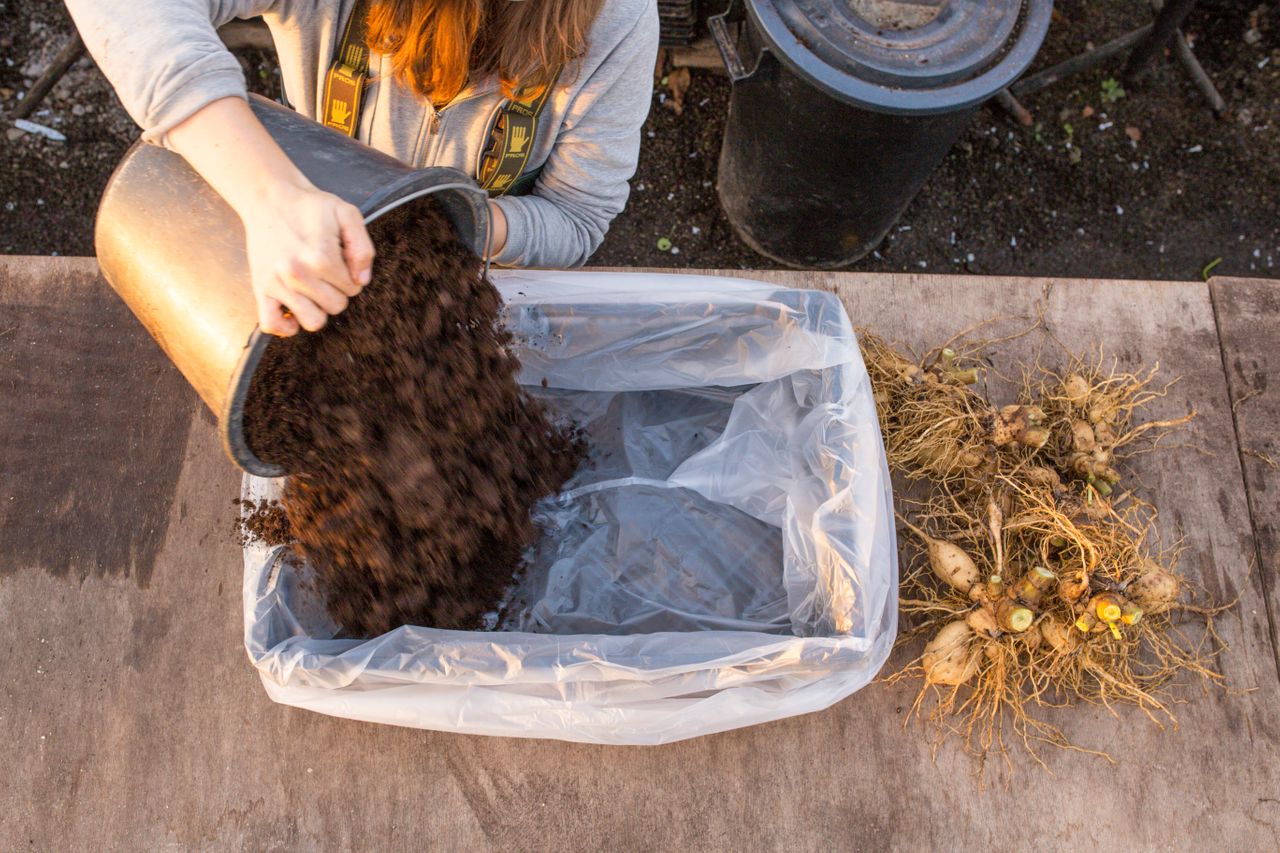
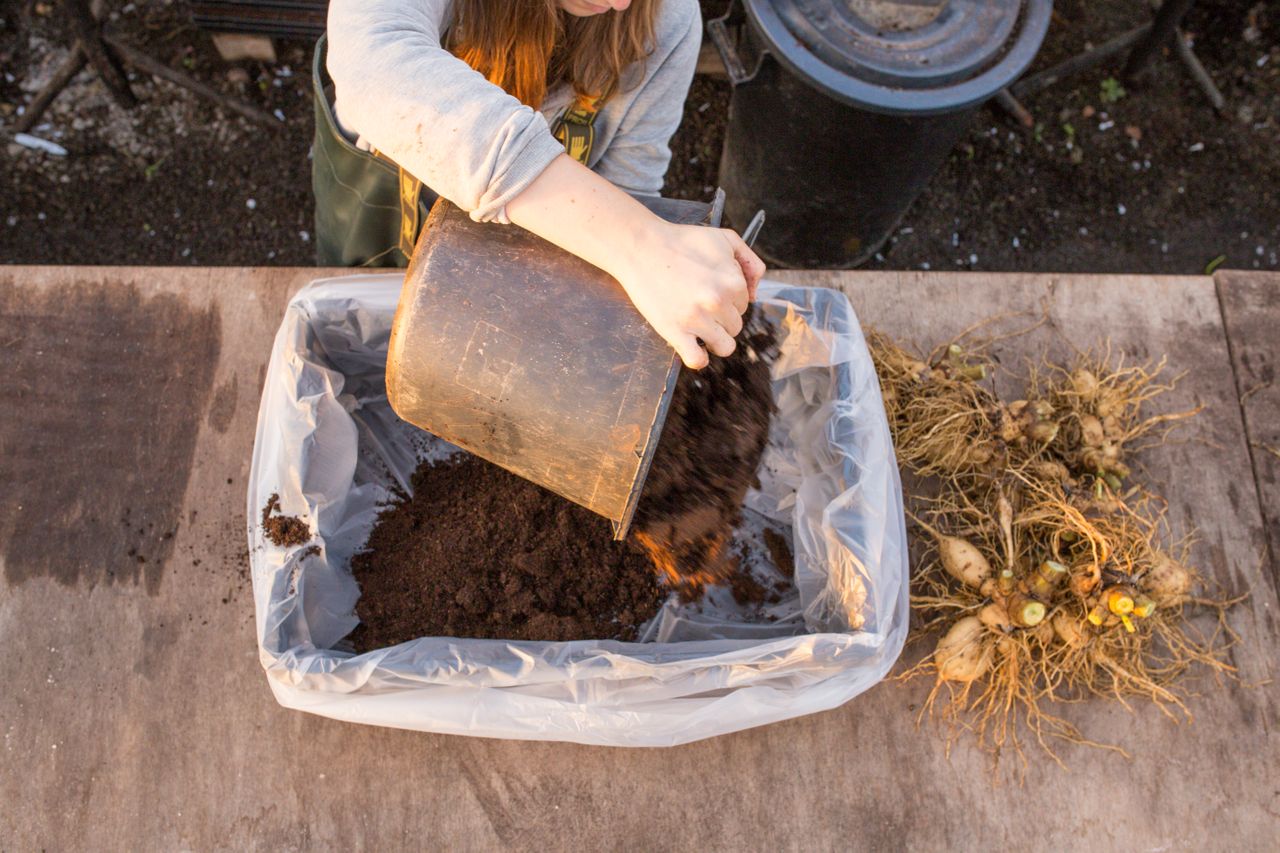
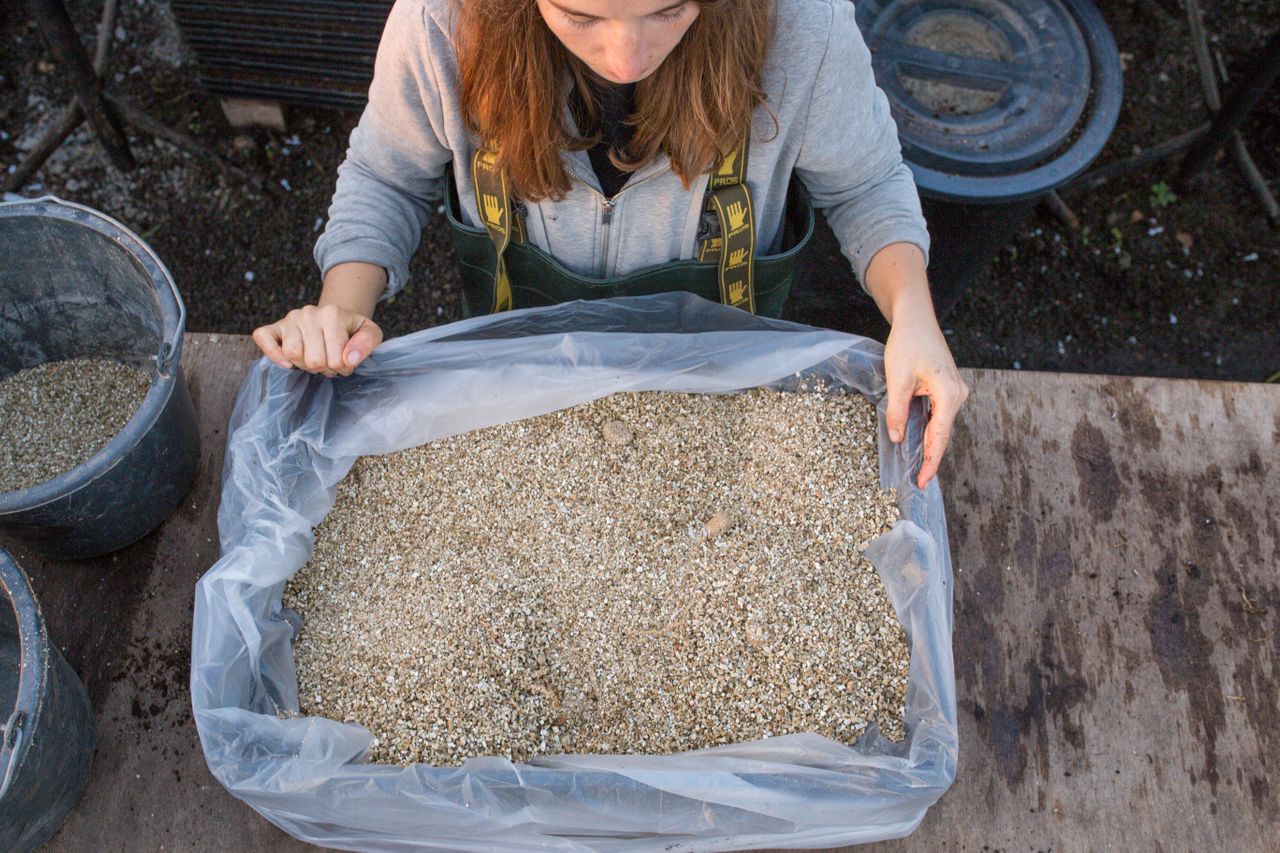
Pour a layer of peat onto the bottom of the crate. The peat prevents the tubers from drying out completely and at the same time wicks away excess moisture, meaning they won't start to mold.
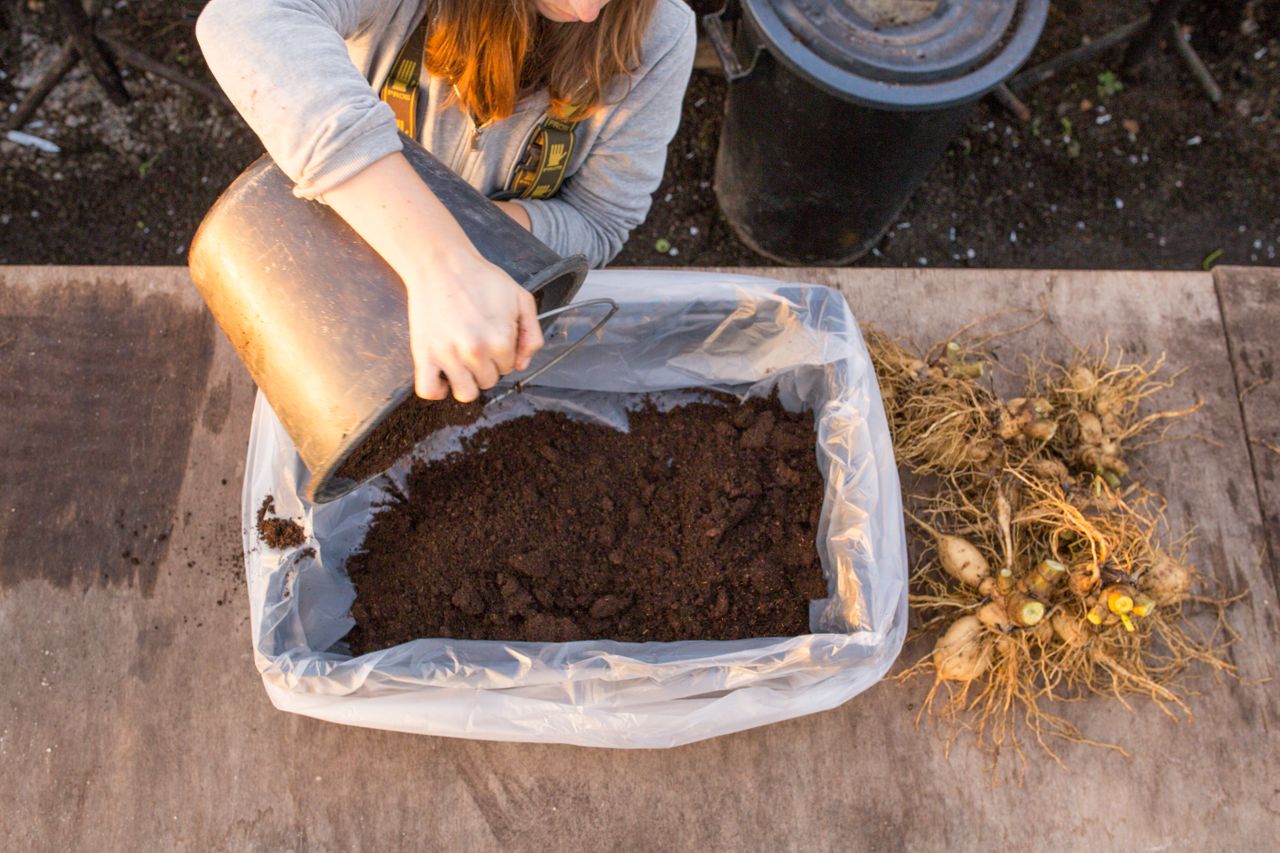
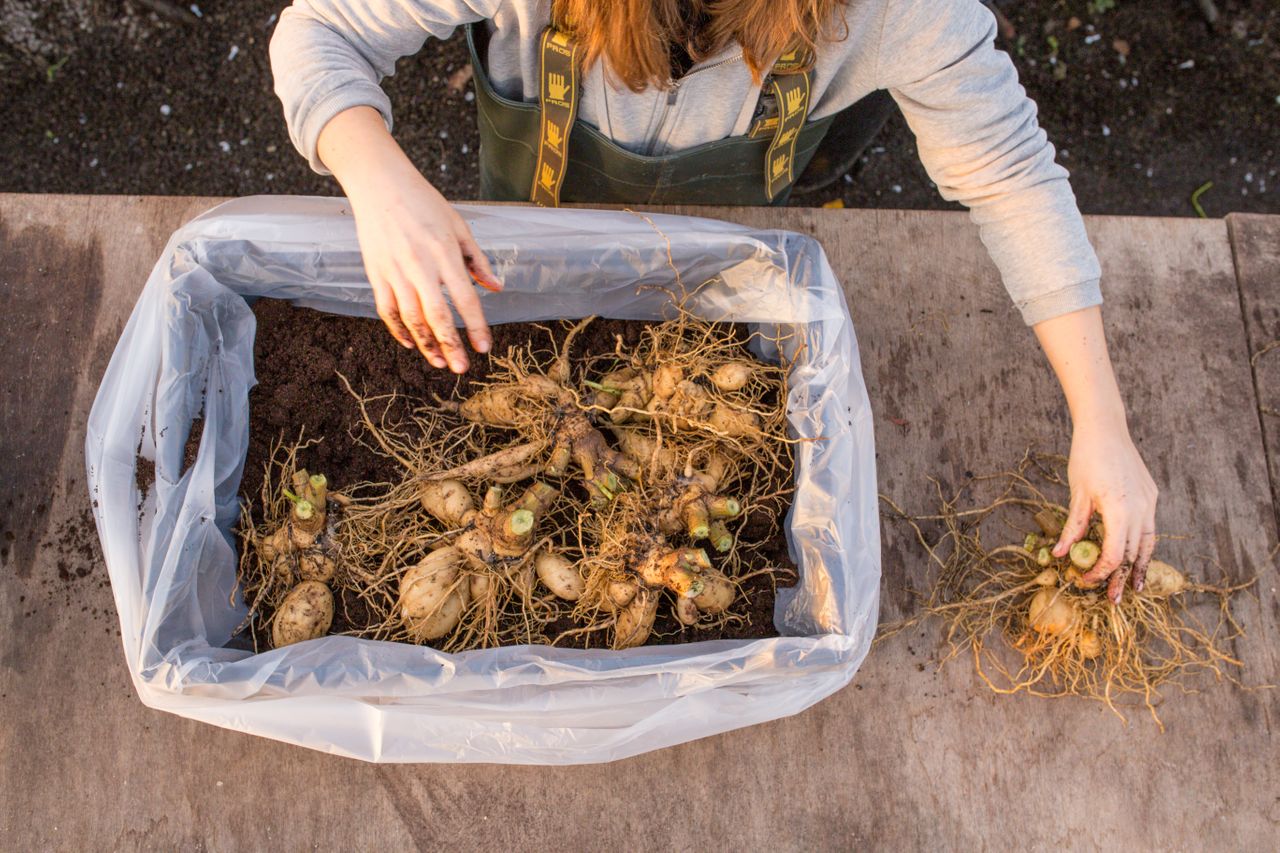
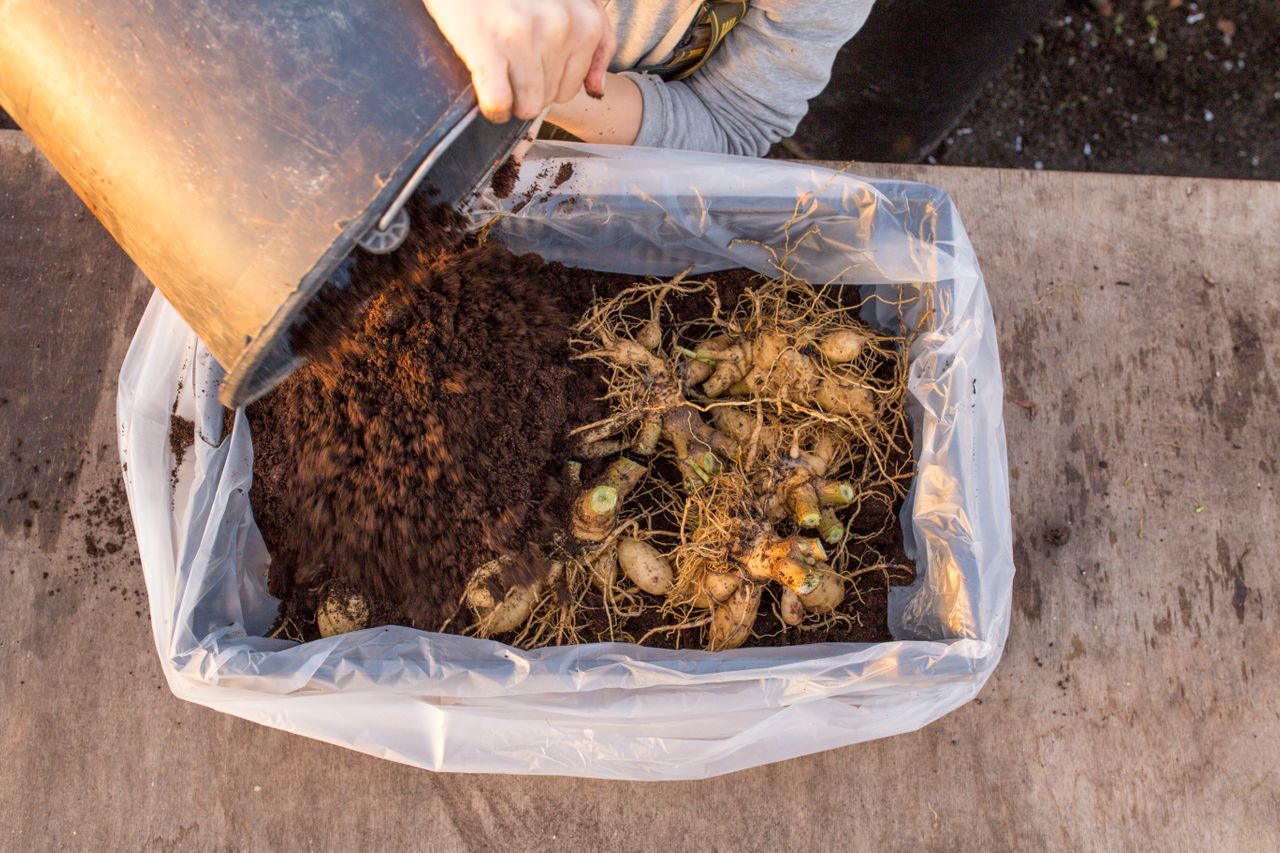
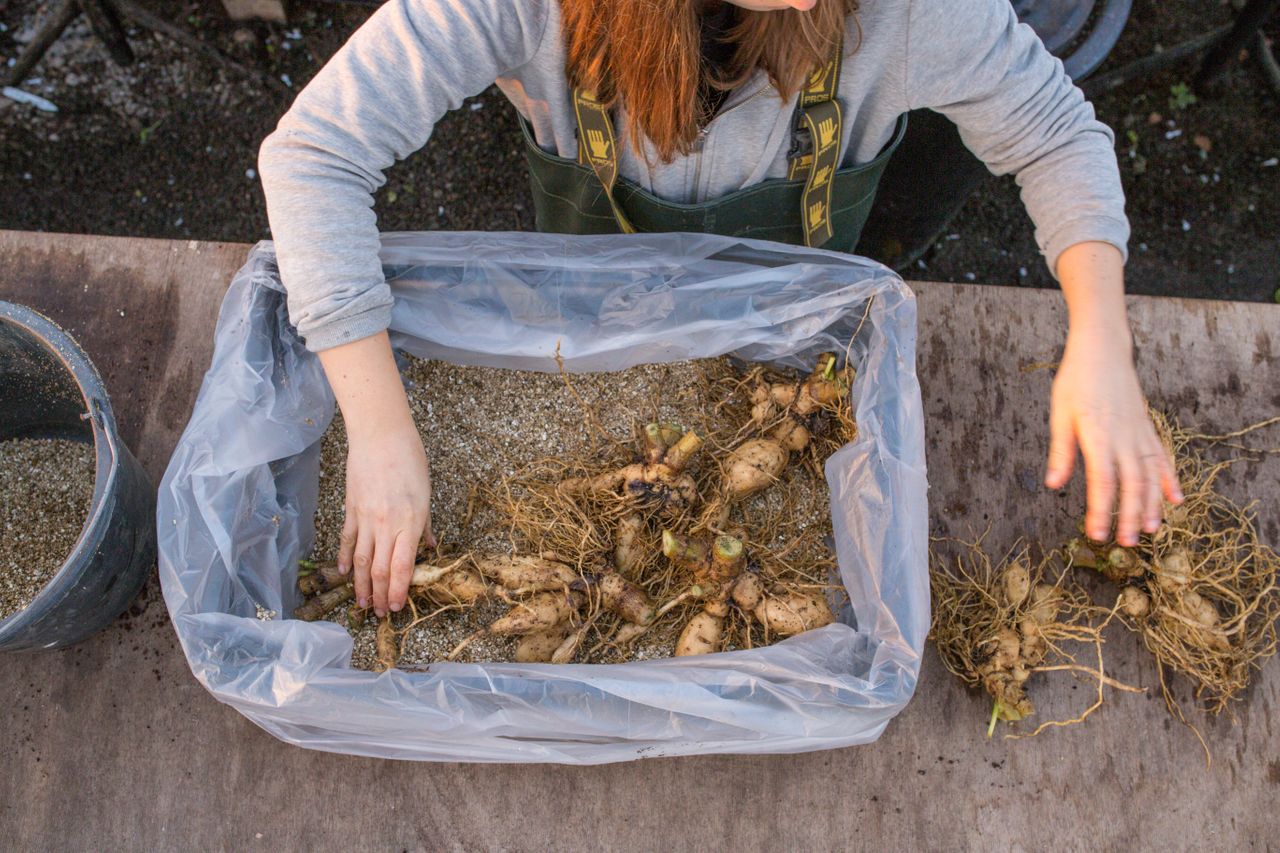
Arrange the dahlias; you can fill the whole crate, they can touch, and it's no problem storing the tubers upside down to fill the space. It's like a little game of Tetris.
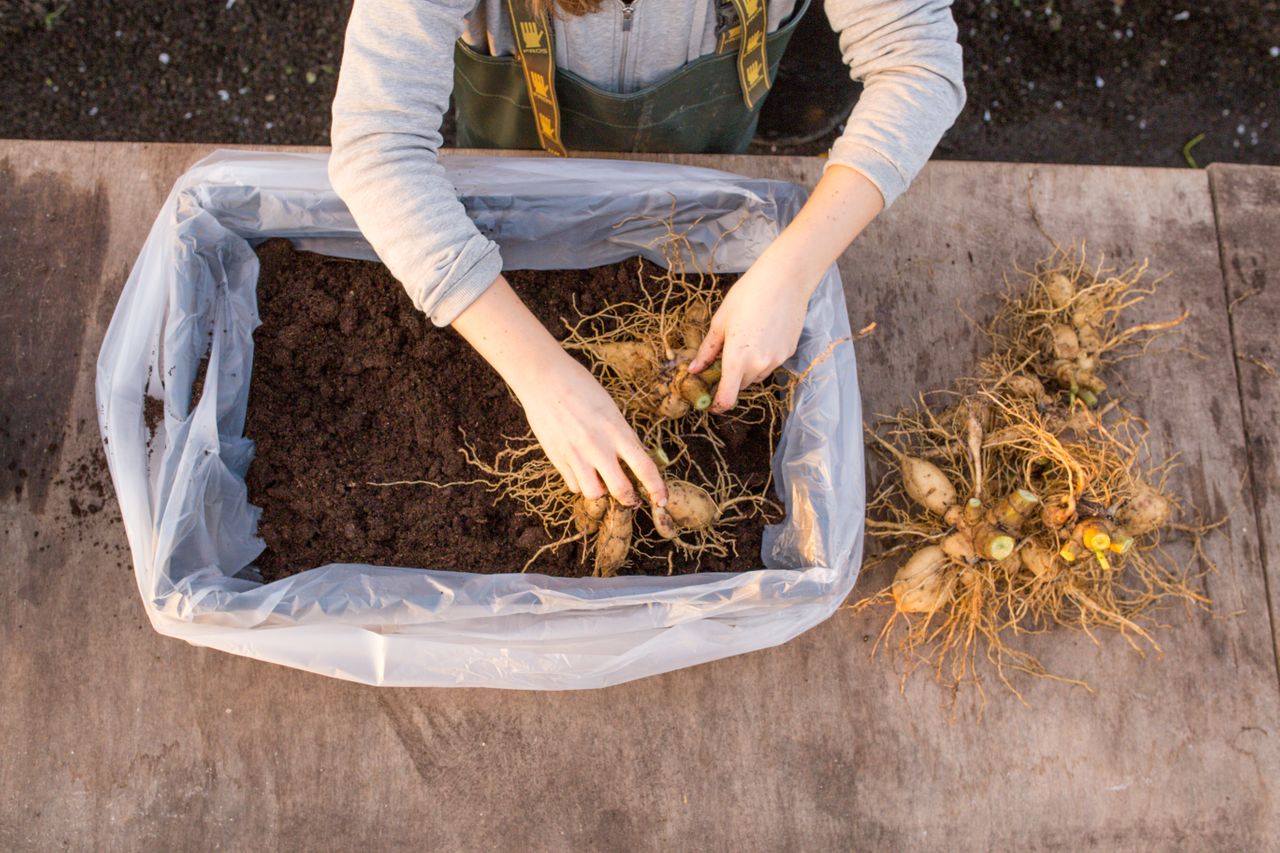
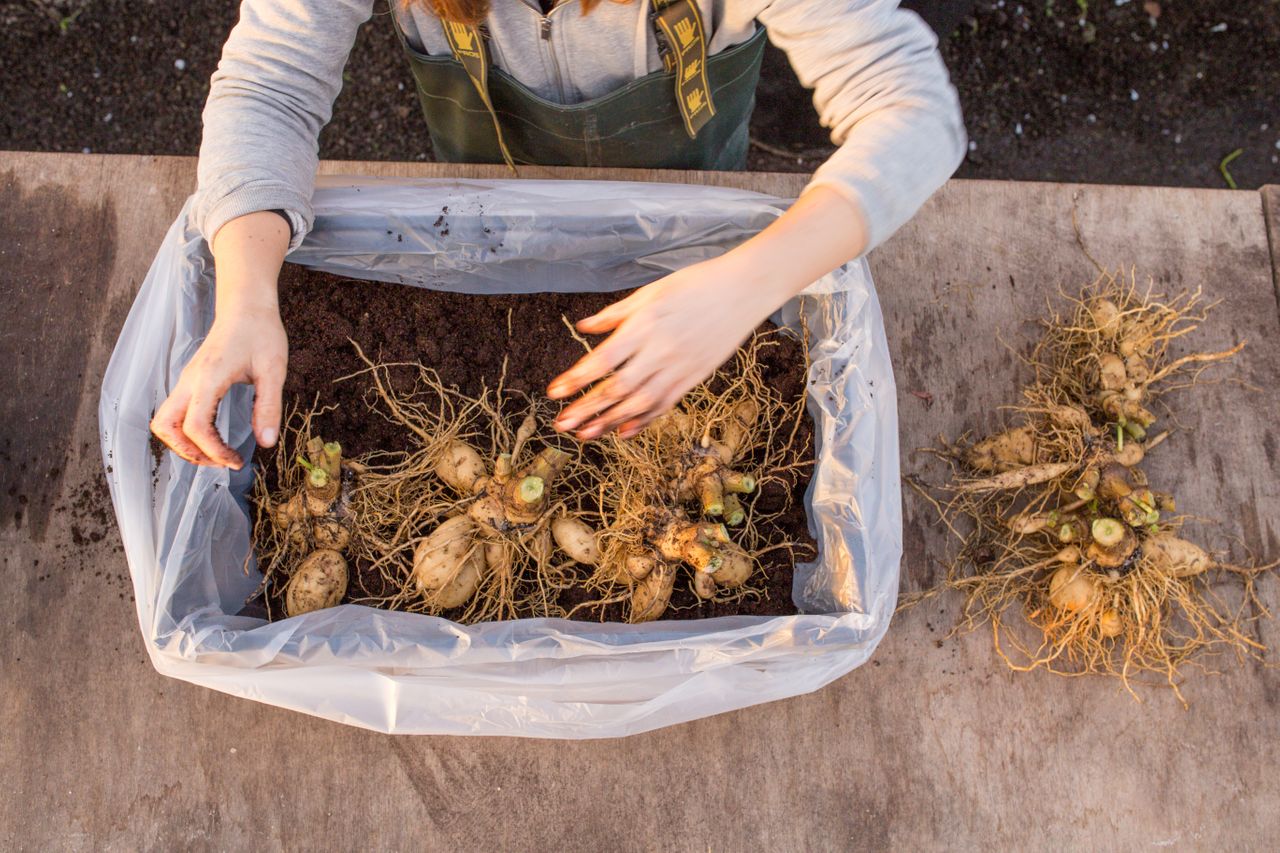
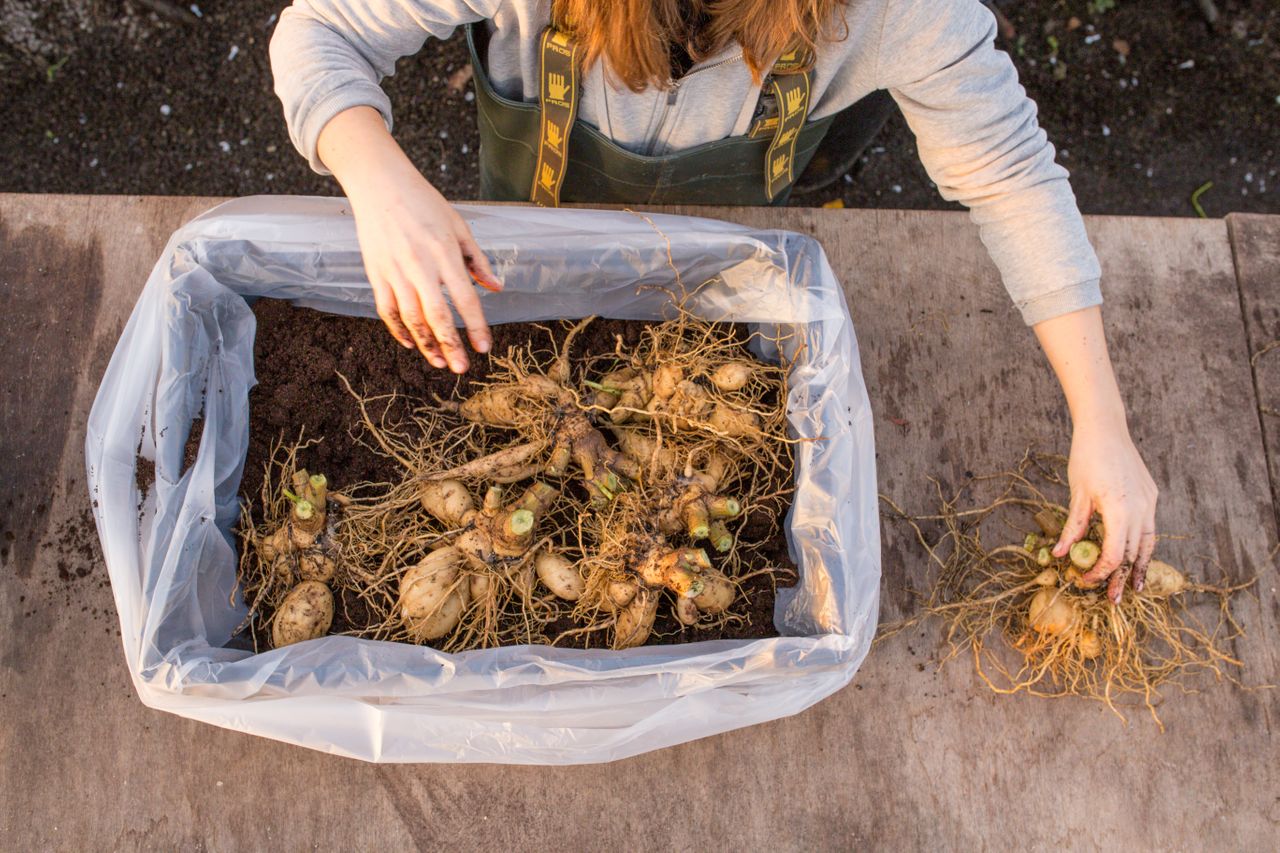
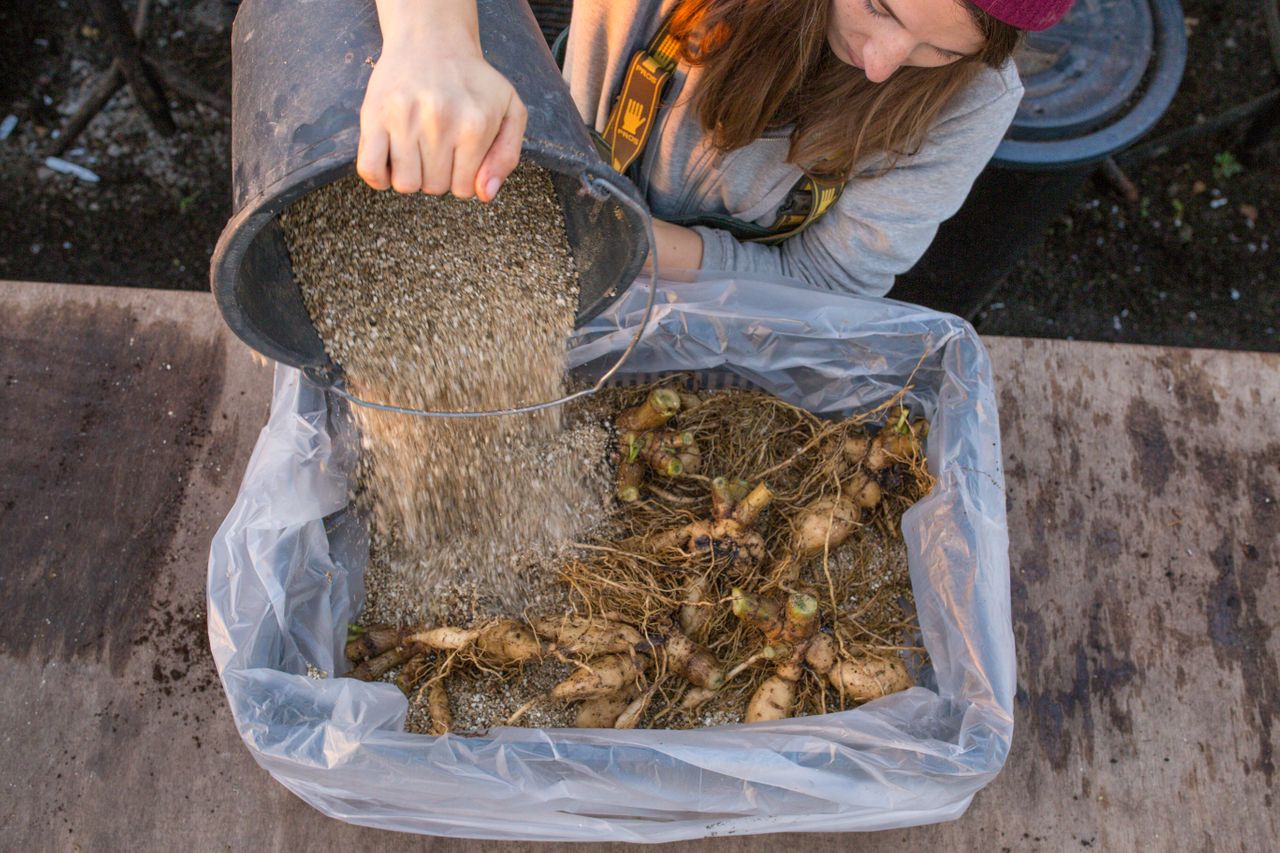
Once you have the dahlias arranged, cover them with peat. All the tubers should be covered, with nothing peeking out. Shake the crate to fill in all the gaps, and add more peat if needed.
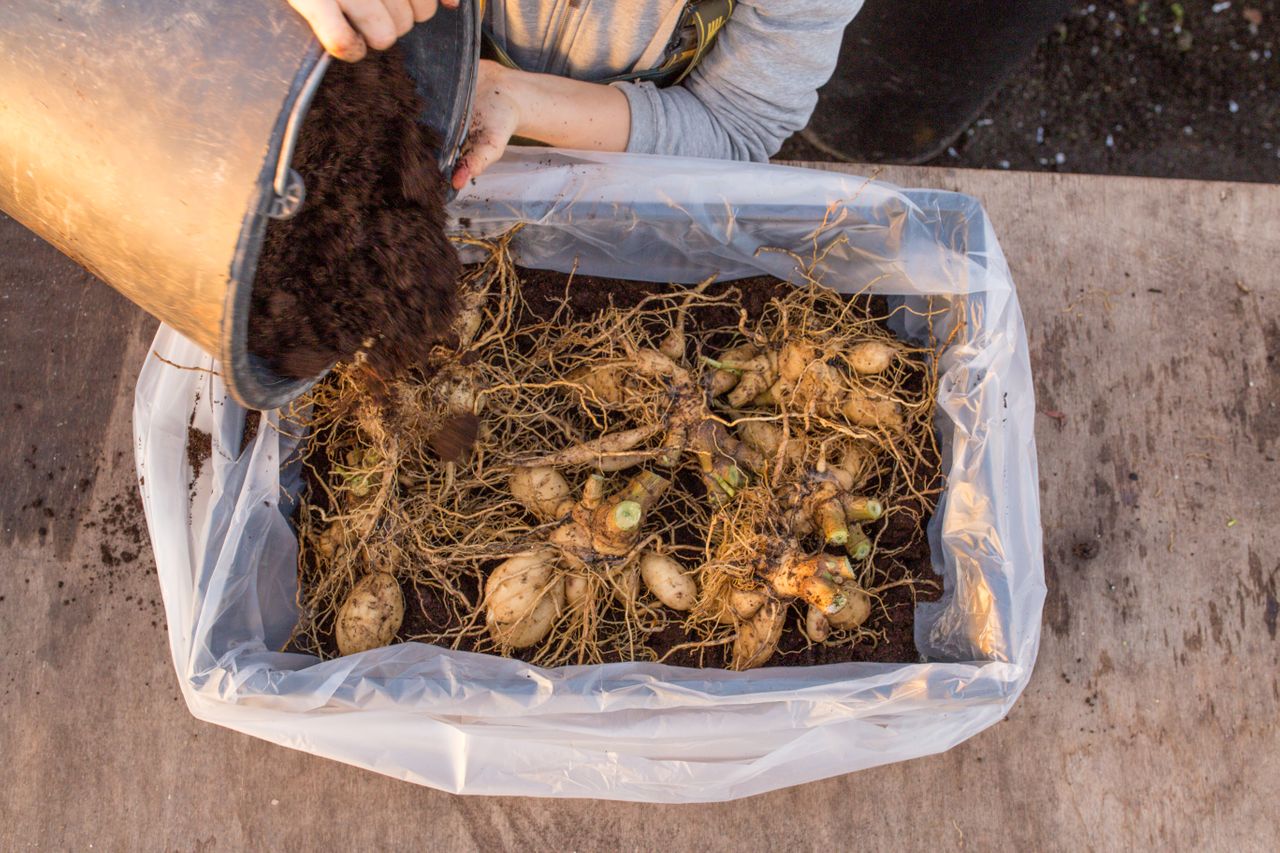
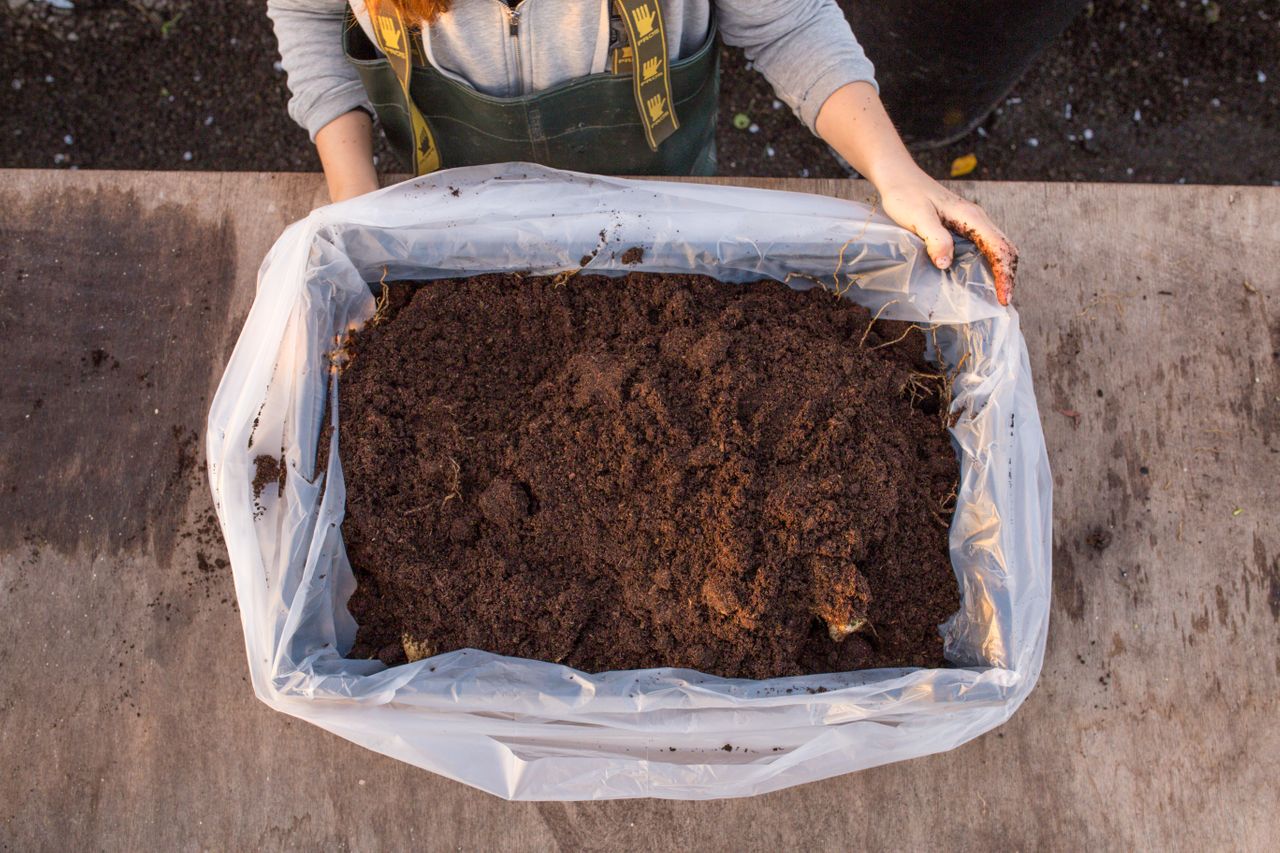
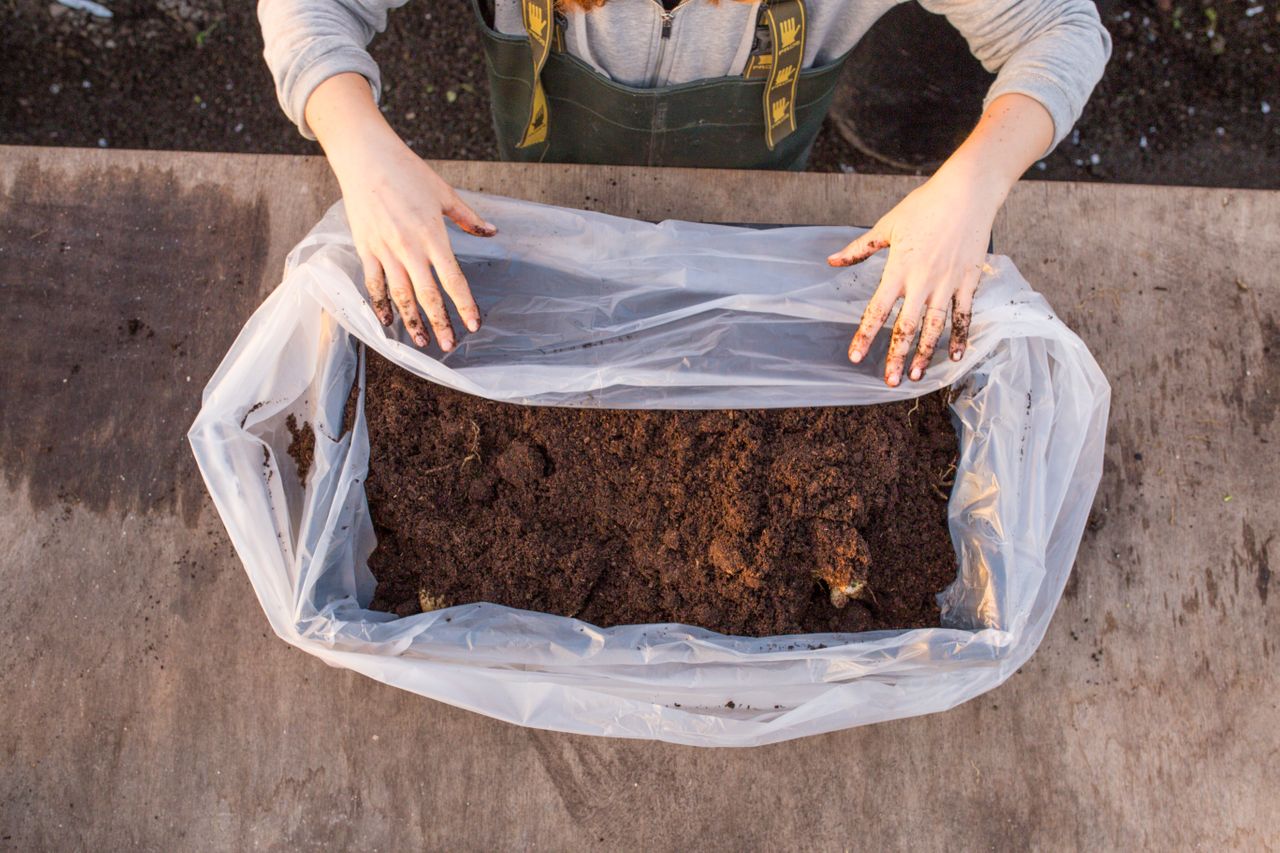
Then it's a good idea to cover the top lightly with plastic. Leave some gap for excess moisture to escape. It is also perfectly fine to leave the crate open like this.
If you seal the crate completely, the dahlias will 'stew' in the plastic and may start to mold. It is therefore important that there is a way for excess moisture to escape.
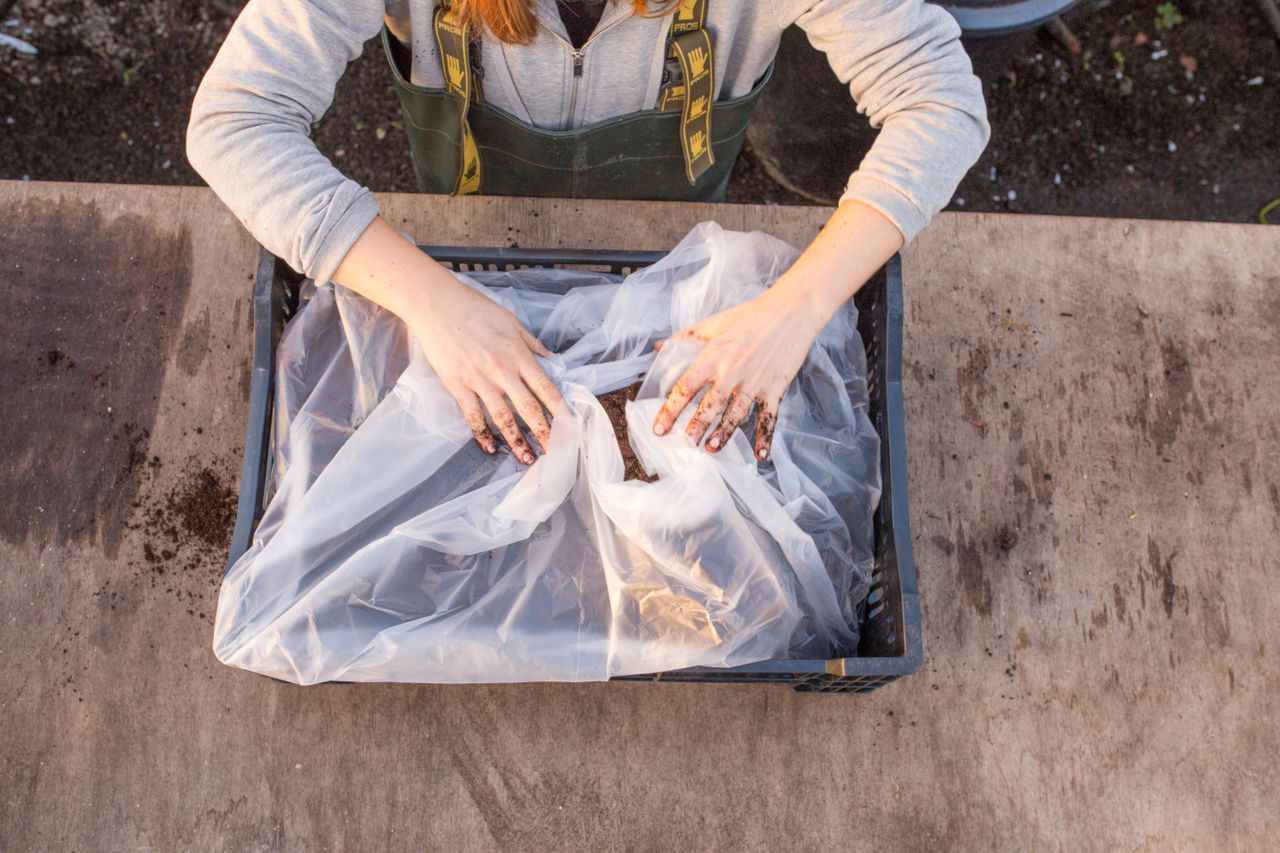
Store the packed crate in a place where it doesn't freeze and the temperature stays between 3 °C and 8 °C. Ideally a garage, basement, or cooler hallway. Light doesn't play much of a role since we have the tubers buried in peat.
Throughout the winter, it is a good idea to check the dahlias, take them out once every 14 days and inspect them to see if any mold is starting to grow anywhere. If necessary, prune the moldy area to prevent it from spreading.
Storing dahlias is not an easy task. Certainly don't count on the fact that those beauties you stored for the winter will be in the same condition in the spring. The main thing, however, is to give them a chance; often even the worst-looking tubers will begin to sprout again.
Alternatives to peat
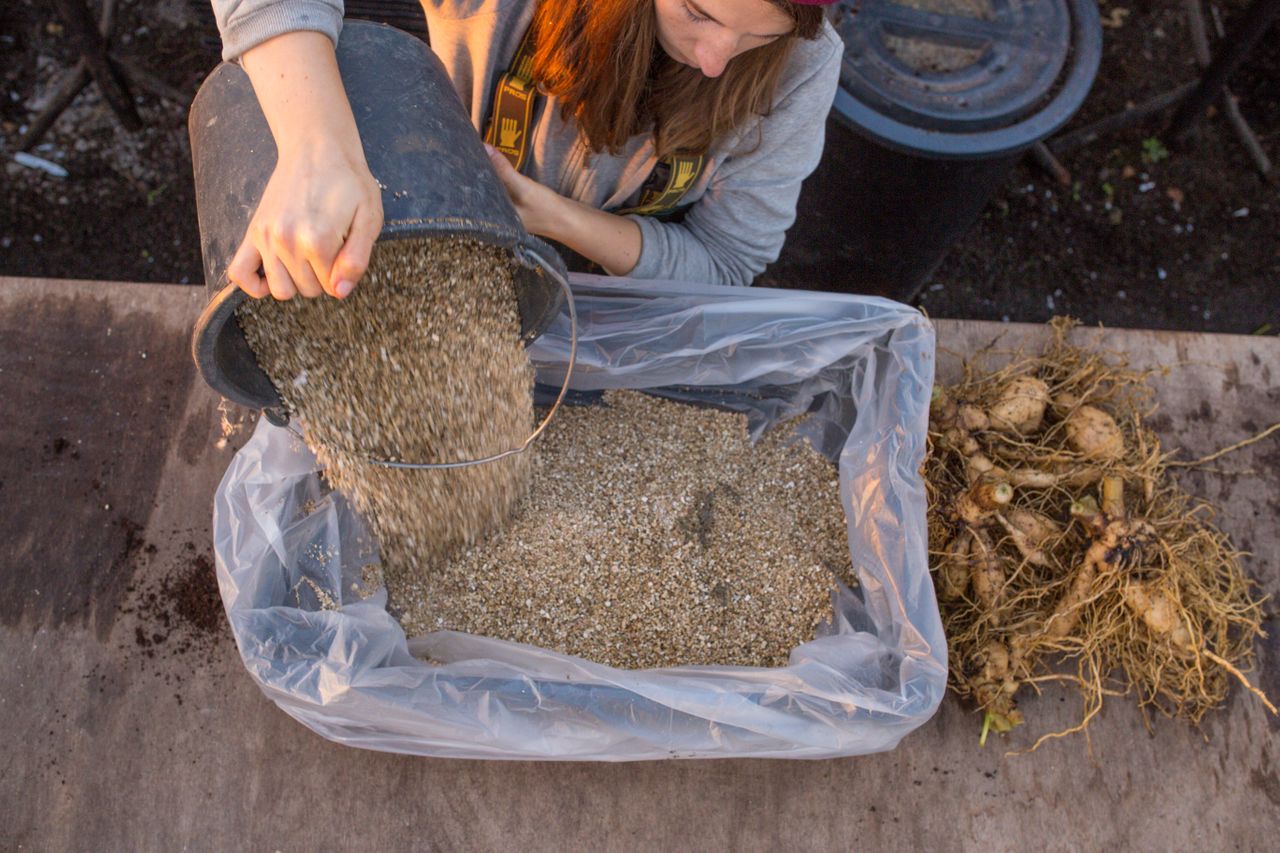
Vermiculite
If you don't want to store dahlias in peat, a (more expensive) alternative is vermiculite — a natural mineral, clean, scentless, odorless, and above all, sterile. You can buy packages of vermiculite directly from the manufacturer, for example, on grena.cz.
Sawdust
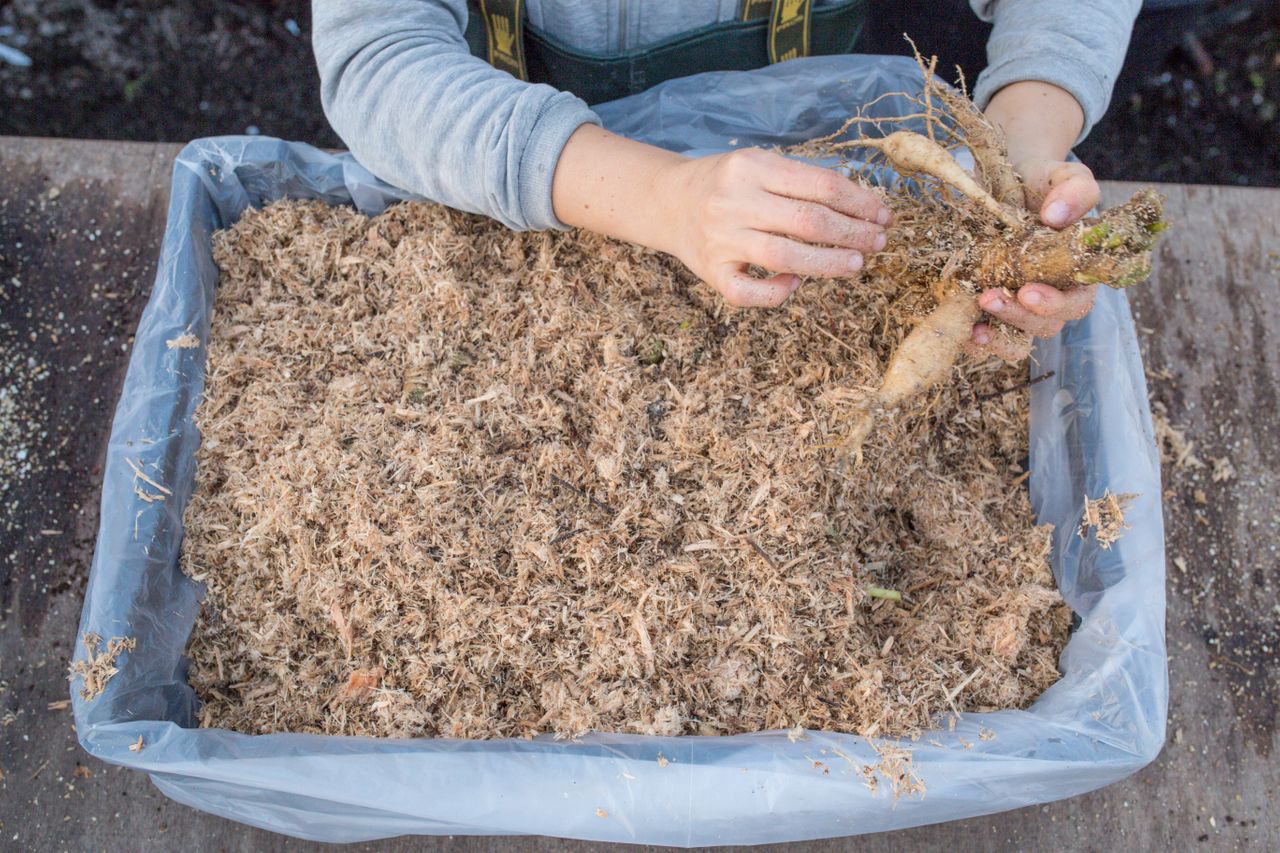
Another alternative to peat or vermiculite can be ordinary sawdust. Again, it fulfills the same function — it prevents the tubers from drying out while simultaneously wicking away excess moisture.
Nevíte si rady?
Napište nám na kvet@loukykvet.cz nebo přes Facebook, rádi pomůžeme.


